Wondering what to bring hiking? Deciding what to pack for a hiking trip is more than just lacing up your hiking boots and packing a lunch. Many of the items we recommend here are 10 essential for day hikes all over North America and you can use this post as a base from which to compile your own checklist. Whether you plan on being out for a few hours or are deciding what to pack for a full day hike, the gear you bring is key to going further and higher and staying safe and comfortable in the backcountry. The hiking gear you pack in case of emergencies is just as important as the items you should pack to help avoid and prevent emergencies. In this post, we’ll cover what to pack for hiking day trips. In future posts, we’ll expand on what to pack for multi-day hikes and overnight trips.
A few things to know about hiking in the Rocky Mountains
Hiking in the Rocky Mountains is addictive you can go wherever your hiking boots, energy, gear, and guide will take you. Peaks, valleys, glaciers, alpine meadows, waterfalls, rainbow sunsets, meadows ablaze with wildflowers, all waiting for you just around the next corner. These are just a few reasons we love hiking in the alpine and chose to build the Mallard Mountain Lodge at an elevation of 1900m. At this elevation, like the scenery, the weather in the Rocky Mountains can change quickly and some days we get all four seasons in a single hike. In a wilderness location like this, being a smart hiker means being a prepared hiker. Another attraction to hiking in the Canadian Rockies, whether in BC or Alberta, is the wildlife. From small birds and mammals like the rock-loving Ptarmigans and Pikas to larger Rocky Mountain icons like mountain goats and grizzly bears, the wildlife here deserves our respect. This means creating as little disturbance to their lives and habitat as possible as we pass through. Our hiking mantra is “leave only footprints, take only pictures”. 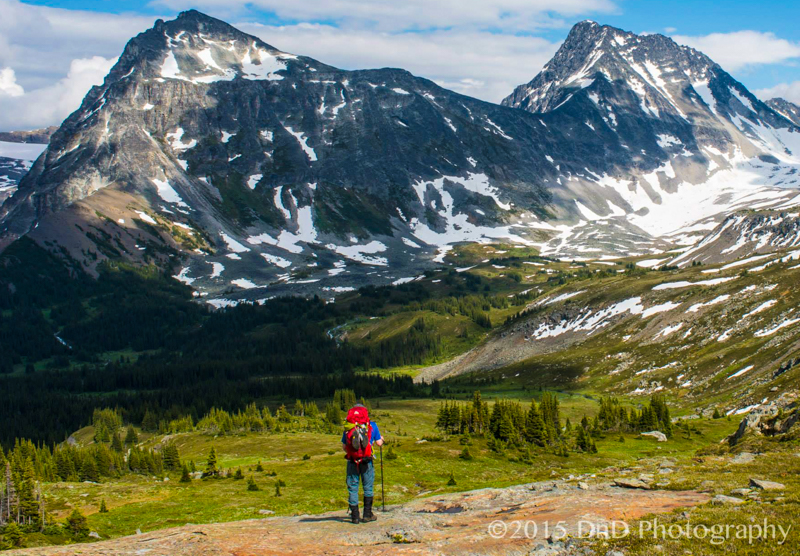 Once you start hiking in the Rockies your world opens up and every trail, peak and ridgeline becomes a location of endless opportunity. Becuase there is so much to see and do here it can be tempting to push yourself to go “just a little bit further”. Fatigue is a real danger in the backcountry. Mental and physical tiredness leads to injuries and accidents. This urge to keep exploring is another reason we built our backcountry hiking lodge close to the alpine. Each day you start your hike at a high elevation, so you don’t have to hike up all the way from the valley. Saving energy also saves on the amount of food you have to pack, reducing weight and in turn energy.
Hiking Gear Checklist: What To Pack For A Day Hike
The core of this hiking packing list owes its origin to the creators of the “10 Essentials” – a backcountry packing list compiled by Ronald C. Eng in the legendary book “Mountaineering: Freedom of the Hills“.
The 10 Essentials for any backcountry trip
- Navigation
- Sun protection
- Insulation
- Illumination
- First-aid supplies
- Fire
- Repair kit and tools
- Nutrition
- Hydration
- Emergency shelter
1. Navigation
Know where you’re going, where you came from and where you’re headed. Being able to determine these three things will help you to stay on course, get home safe and describe to others where you are in an emergency. Without navigational tools the rest of the list is obsolete. No amount of food, fire, or shelter will help if you can’t find your way home or call in an accurate location for a rescue. 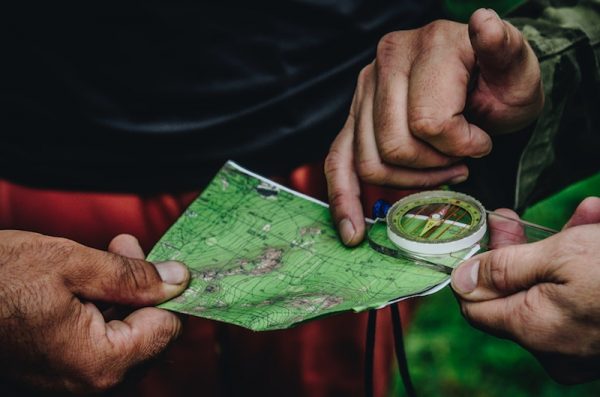 When we ask people about navigation they instantly think of a map and compass. With technology like GSP watches and emergency beacons, it can be easy to think that a compass and map are old school relics but neither requires a satellite, batteries, or a screen in order to work. Technology is fantastic…when it works. Carrying a topographic map and knowing how to read it and navigate with a compass are two of the most basic and fundamental skills any hiker can have. Navigational items to pack for a hiking trip can include:
- Topographical map
- Compass
- GPS receiver
- GPS beacon
2. Sun protection
Who doesn’t love the feeling of warm summer sun on their skin, especially after a long dark winter? In spring and summer it can be tempting to wear shorts, t-shirts and tank tops all day when out hiking, but in alpine hiking environments like the Rocky Mountains packing ultra-thin and breathable long sleeves, long pants, and a wide-brimmed hat will be worth it. Here the sun’s strength can be deceiving. In the alpine, the wind is cooled as it rushes over glaciers and trees. This cold air cools your body and distracts you from the heat of the sun until you get home at the end of the day and realise that you look like a lobster. On exposed alpine hiking trails trees are sparse (if there are any at all) giving you little options for shade when eating lunch in the heat of the day. 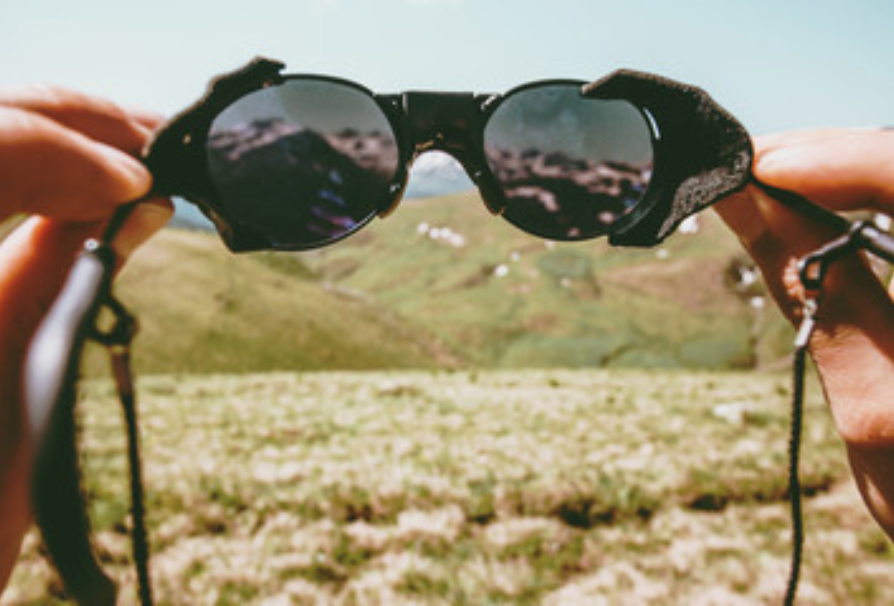 This section wouldn’t be complete without mentioning sunglasses and sunscreen. Sunglasses are helpful for not only blocking UV rays directly from the sun, they also block it from the snow. Glare from snow on glaciers and slopes can cause snow blindness, good quality sunglasses are an eye-saver. Last but not least is sunscreen. Apply liberally before you set off making sure not to miss sensitive parts like the back of your neck, the backs of your knees and face. Don’t forget to pack the tube in your bag. Do not leave it at home. As you heat up while hiking you will sweat out a lot of the sunscreen you applied. Reapply as necessary along the way. The sun is hard to escape, so when you’re building your list of what to pack for summer hiking be sure to include:
- sunscreen
- sunglasses
- ultra-lightweight long sleeve shirt
- ultra-lightweight long pants
- wide-brimmed hat
3. Insulation
Why would you need to keep warm on a summer’s day? When setting off for a day hike in the Canadian Rockies the intention usually isn’t to spend the night out in the wilderness, but accidents happen. As we mentioned at the start weather in the mountains changes quickly and being a smart hiker means being prepared and packing for the worst. 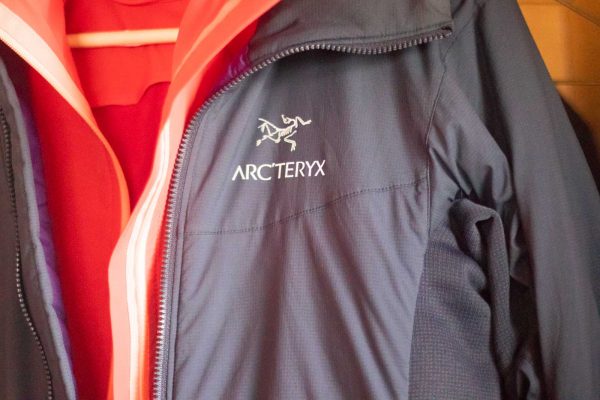 At its heart, insulation means staying warm which consists of two parts: staying dry and retaining heat. First, let’s look at staying dry. Anyone heading out for a hike in the Rocky Mountains should always pack a lightweight and breathable rain jacket just in case you get caught in a shower. Like sweat sticking to your clothes from the inside, precipitation or moisture from the outside has a cooling effect on the skin underneath. Very much like using a damp cloth to cool someone’s forehead. To prevent unnecessary heat loss in wet weather your hiking checklist should always include a rain jacket. Now for how to retain heat. Layers work to keep you warm by trapping air between your skin and the material. This air is then warmed up by your body heat creating a thermal effect that keeps you toasty. One common mistake that many people make with layering (besides wearing cotton) is to wait until they are cold before adding layers. If your body has already lost enough heat for you to now feel cold, how is your body then going to heat the air inside the layers? A good time to put on your layers is as soon as you stop hiking and have decided that you’re going to be standing or sitting for a while in cooler temperatures. When you’re considering what to pack for hiking add:
- Lightweight rain jacket
- Lightweight synthetic or merino wool mid-layer
4. Illumination
When packing for a hiking trip, always be prepared to get held up and possibly have to find your way home in the dark. Anything from a small navigational error to an injured group member can add extra time to your plan. At your local hiking store you’ll find a number of small flashlights, packable lanterns and likely a whole wall of headlamps. In our experience, headlamps are an awesome hands-free, pocket-sized source of light and a good headlamp (with replacement batteries) should be on any hiking gear list. 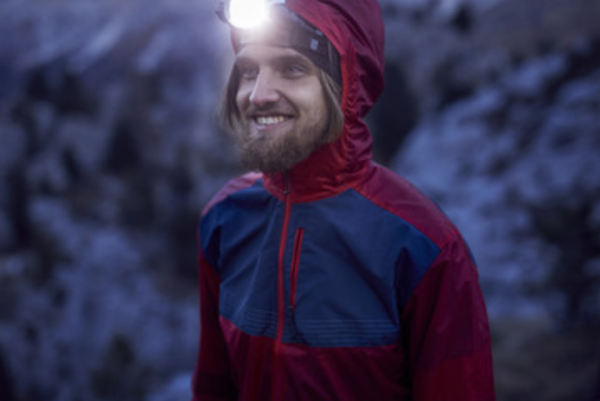
5. First-aid supplies
First-aid kits come in all kinds of shapes and sizes. The type of kit you’ll need to pack for your hiking trip will depend on group size and the location and duration of your trip. Most popular with hikers are the pre-assembled first-aid kits that come with supplies to treat basic ailments like blisters, insect bites and stings, small burns, mild grazes and cuts, and upset stomachs. 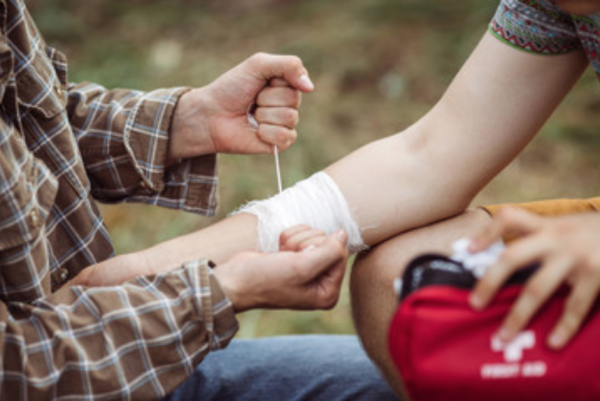 Falls are also a common cause of injury in the backcountry, especially when crossing boulder fields or rocky slopes. Sometimes just one tired misplaced step can cause a tumble. If you’re new to packing for hiking and have never built a first aid-kit before we’d recommend starting with a pre-assembled kit and then adding a few extra items including:
- A splint – for rolled ankles and sprained wrists
- A sling – for broken arms or injured shoulders
- An emergency blanket (see number 10) – for keeping warm and dry if immobilised for long periods
- Duct tape – for when you really need to keep something in place
- Notepad and pencil – if the injury is serious and requires professional medical assistance it can be helpful to keep notes on how, where, and when the injury happened and changes in the patient’s symptoms for when the emergency services arrive
6. Fire
If you find yourself spending the night outdoors having a fire can keep morale high, as well as providing warmth, smoke to repel bugs, and a means of heating water. Weather conditions will affect the materials you use to build a fire and being able to maintain a fire in a variety of weather conditions can be a life-saving skill. 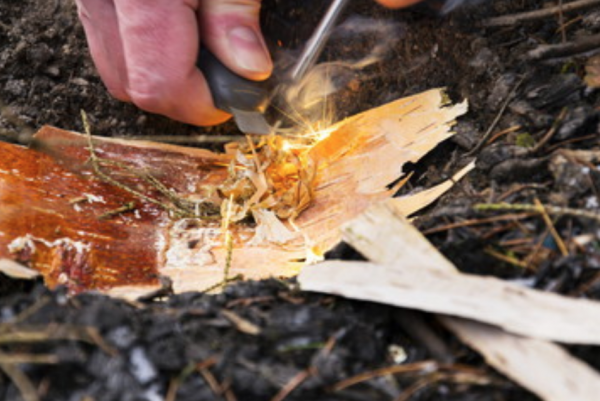 When you’re packing for your hike be sure to include:
- a reliable spark producer: waterproof matches or a ferro fod. A lighter will fail in wet weather and low temperatures
- a fire-starting material such as Mico Inferno all-weather fire sticks or Wet-Fire Tinder
7. Repair kit and tools
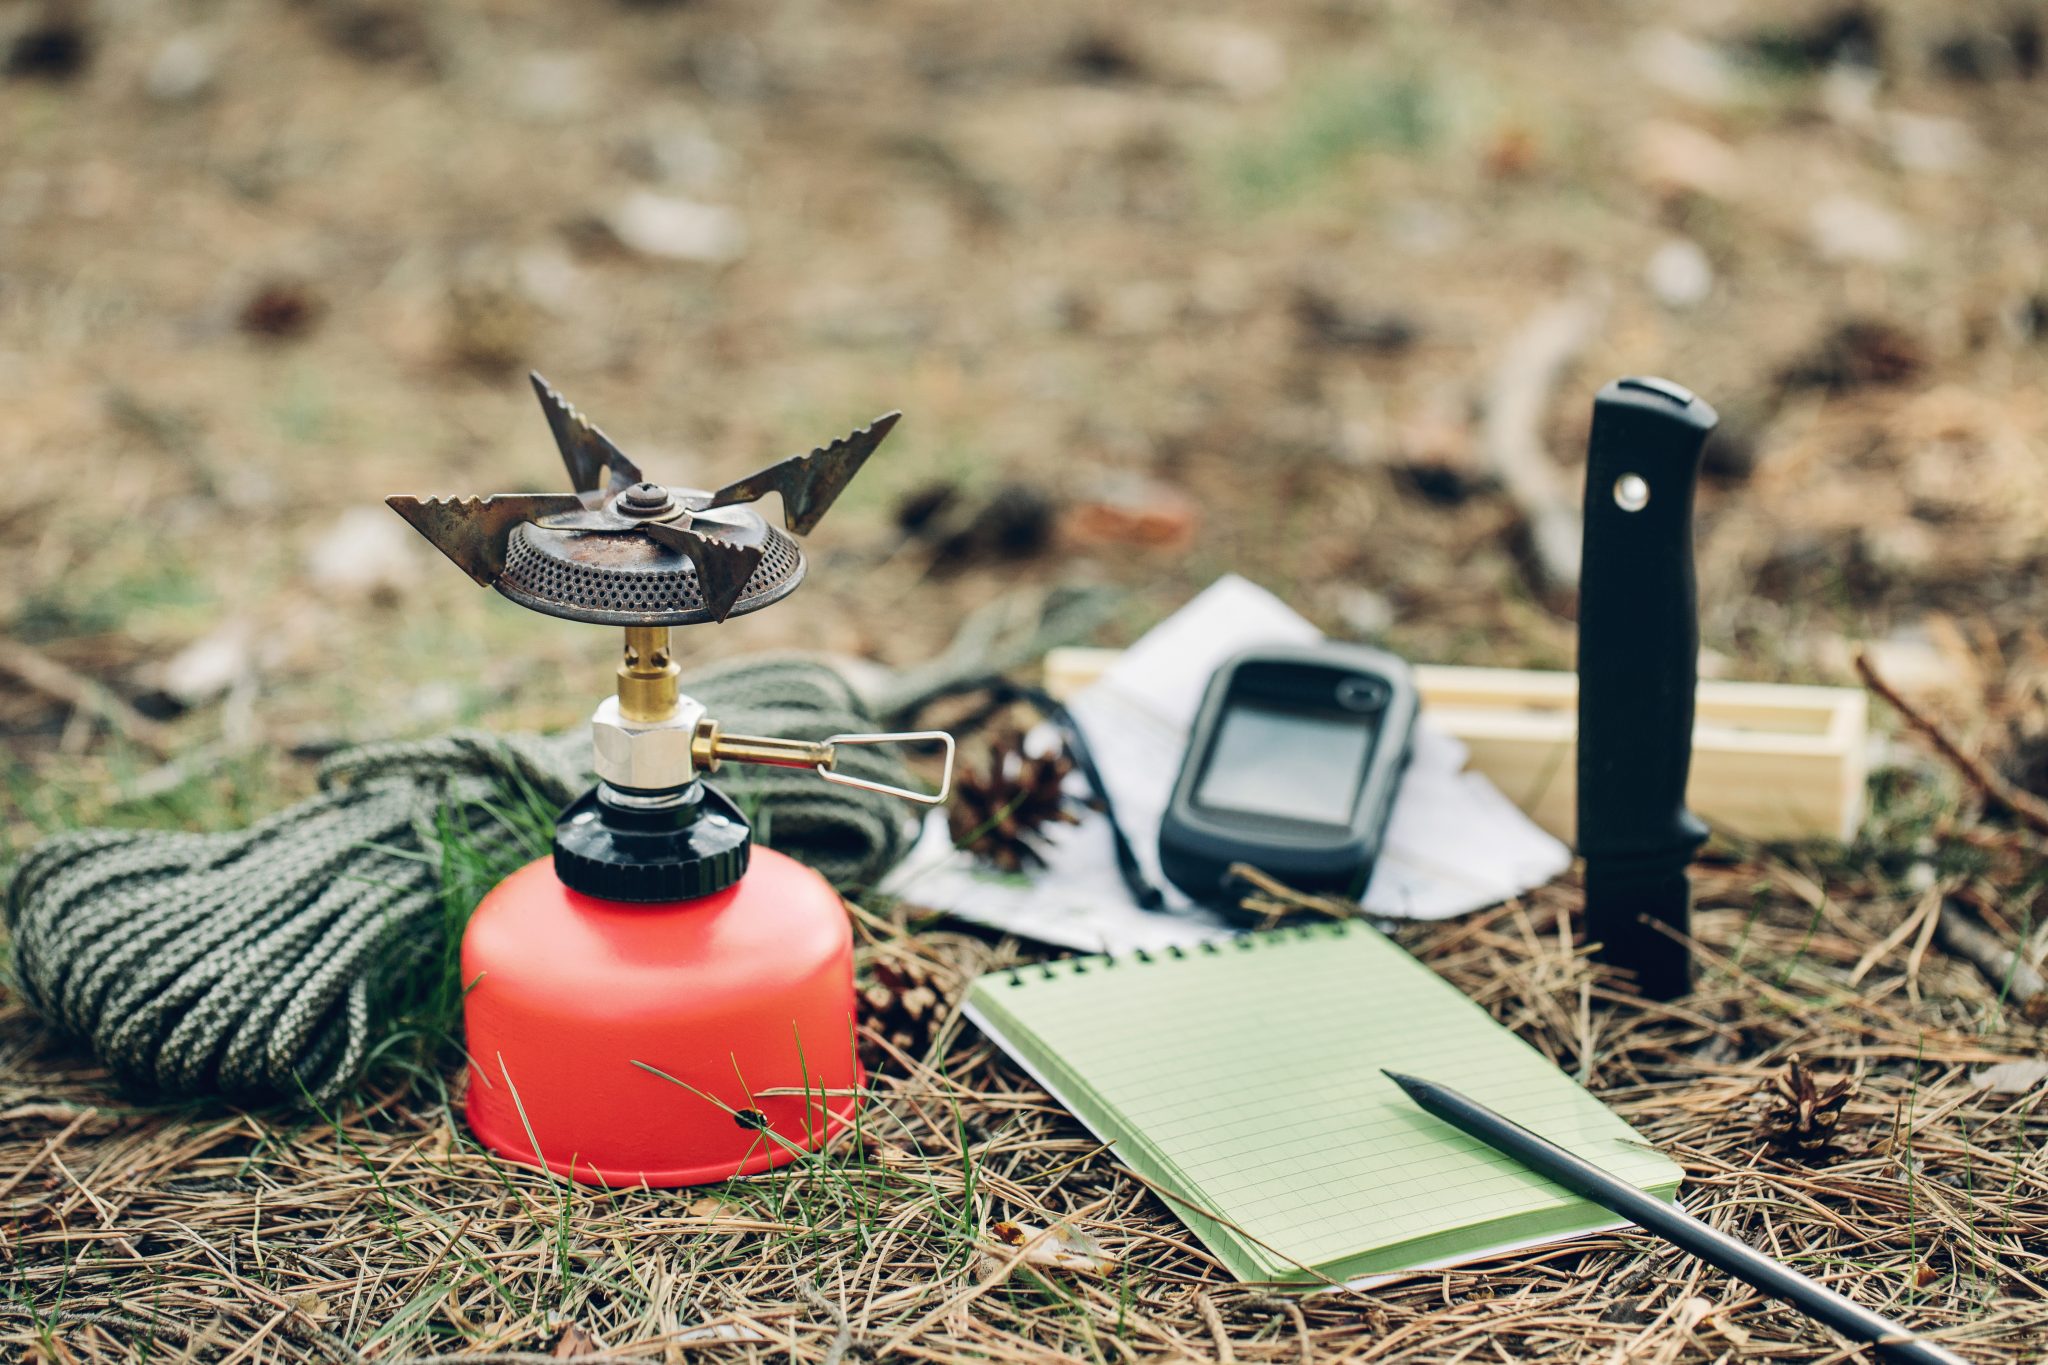 In their book “Bushcraft First-Aid: a field guide to wilderness emergency care” Dave Canterbury & Jason. A Hunt recommend that anyone venturing into the backcountry should carry the following essential tools. These items are part of their 10 C’s system for wilderness survival:
- Cutting Tool – knife
- Container – stainless steel bottle or canteen
- Cordage – paracord or climbing rope
- Cargo Tape – Duct Tape or Gorilla Tape
- Combination Tool – multitools such as a Leatherman or Swiss Army Knife
If you’re caught in a bad situation the tools above combined with the rest of the list in this post should keep you alive and comfortable until help arrives. But what if the problem is just a good-old gear failure? Here are a few additional items that are handy for trail-side repairs:
- Gore-Tex patch kits – to fix rips in clothing, tents, shelters, bags and shoes
- Zip Ties – fix broken zippers, attach things to your backpack
- Ziplock Bags – keep almost anything waterproof. Did you know you can still use a touchscreen phone through a Ziplock?
You’ll notice we’ve mentioned Duct Tape more than once so far in this post and for good reason. It’s the Swiss Army Knife of materials. Below are just a few of the hundreds, if not thousands, of uses for Duct Tape:
- patch ripped clothing/tents
- create safe handles/gripping points for hot for pots or pans
- fix a broken hiking pole
- fix a crack in a water bottle
- temporarily cover mesh in leaky shoes making them more waterproof
8. Nutrition
Treat your body like a car. Don’t let the tank hit empty and then have to coast to the gas station on fumes to fill up – this is when accidents happen. Take regular snack breaks to keep your mind and body alert on the trail. REI suggests that “a reasonable goal is 1.5 to 2.5 lbs. of food (or 2,500 to 4,500 calories) per person per day depending on your size, weight and exertion level” and always pack at least 1 days worth of extra food. 
9. Hydration
Like food, you’re going to need to take as much water as you will drink for a full day (see below for estimated volumes), plus water for one extra day. If the thought of carrying the weight of all that water makes your back ache, you should become familiar with ways of collecting, filtering and purifying water from natural sources. When planning extended travel in the backcountry plan your route to cross or pass-by fresh water sources and carry with you (and know how to use) a filtration system, purification tablets, and or a UV sterilisation pen. 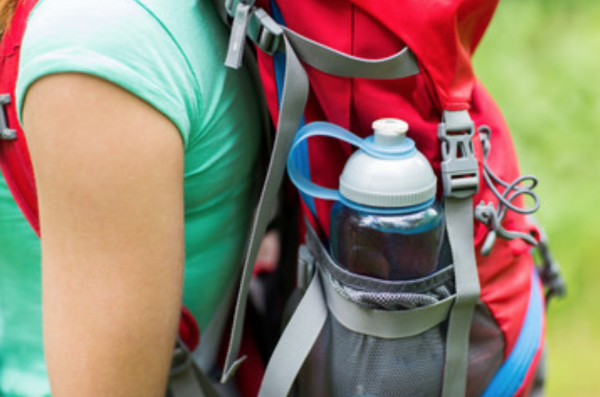
How much water should I drink on a day hike?
Great question, we’re glad you asked. The Mayo Clinic recommends the adequate daily intake of water is “about 15.5 cups (3.7 litres) of fluids for men About 11.5 cups (2.7 litres) of fluids a day for women” but it’s important to remember that this number changes greatly with exercise frequency, intensity, and duration. Camelbak has a great activity tool (sample results shown below) to help you calculate how much water you should drink on a day hike based on age, weight, how much you sweat and the intensity and length of the hike as well as other factors. 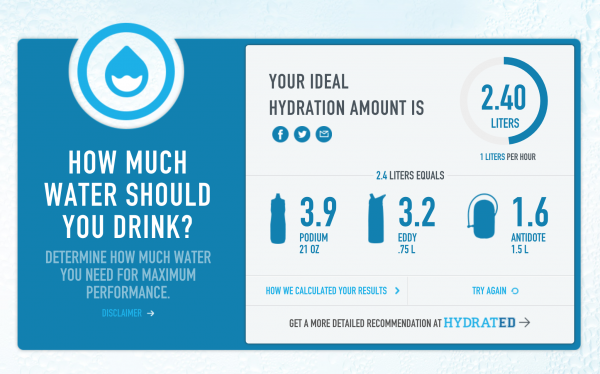
10. Emergency shelter
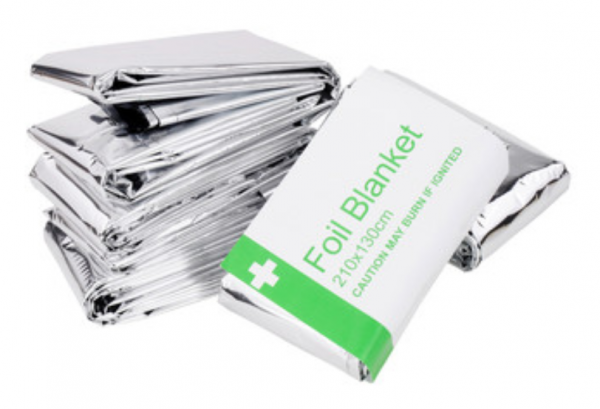
Carrying a shelter on a day hike might seem counterintuitive but it is one of the most important elements of a day hiking packing list. A small compact emergency shelter will keep you dry, insulated and provides sun protection. It has the potential to save your life (or someone else’s) should you find yourself spending an unintended night on the side of a mountain. Emergency shelters can come in a few different forms:
- Foil blanket or space blanket – small, lightweight, and cheap. Folds down to fit in a pocket. Provides shelter for one person
- Lightweight tarp – waterproof and windproof. Perfect for creating shelter for 1-3 people
- Bivy sack – a waterproof, wind resistant cover for a sleeping bag. Provides shelter for one person
Conclusion: what to pack on a hiking trip
We’re really glad that you made it to the end of this post. You’re hopefully a more knowledgeable and prepared backcountry enthusiast than you were when you arrived. If you only take away one thing from reading this list we hope it is this: “Expect the best, plan for the worst, and prepare to be surprised” – Denis Waitley The 10 Essentials are intended as a guide, as a base from which to build your own personalised packing list. If you have any questions about what to pack for multi-day and overnight trips we have a blog post coming for you soon. You can also call us on (250) 835-4516 or leave a comment on Facebook, Twitter, and Instagram and we’ll reply as soon as we can.
Next steps?
- More Blogs
- Explore Website
- Contact us by email info@cacltd.ca
- Contact us by phone 250 835 4516
- Check Availability
- Book Now!
