The allure of the backcountry for skiers and snowboarders is a strong one. Especially for those who crave fresh turns, no lift lines, and the quiet solitude of a backcountry setting. With ski touring (and split-boarding) growing increasingly popular, it can be easy to hear the jargon and be unsure of exactly what you’re getting into. Before you say yes to your friends asking you to test out this style of skiing, you need to be prepared for the level of commitment and knowledge that’s required for it. To help you understand the process of preparing for your first ski tour, we came up with a two part guide to help you get the education and preparation you need. For part one, we will be focusing on what to do before you show up for your first ski tour.
Tips for Preparing for Your First Ski Tour
1. Education
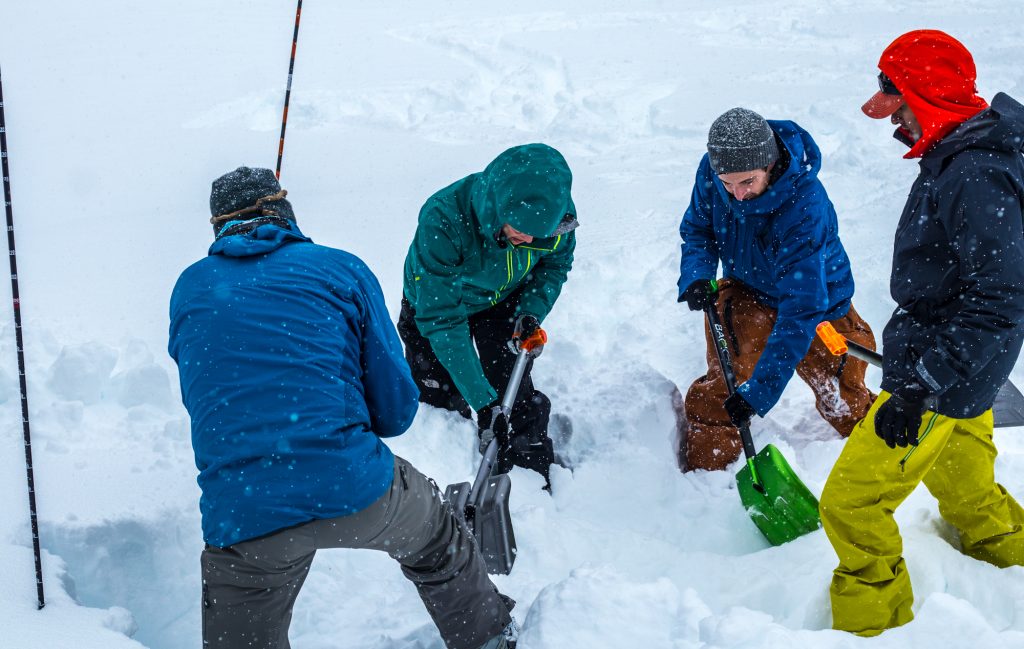
The first and biggest responsibility you have to yourself and your touring partners is gaining the proper education prior to going into the backcountry. The easiest and most recognized way to do this is by taking an Avalanche Safety Course, typically called AST Level 1. You can take the course with a reputable company before coming to Mallard Mountain Lodge, or you can join an Intro to Alpine Touring Vacation AT101) with us at the lodge. In this course, you’ll learn how to properly use your avalanche safety gear, techniques for rescue, and the practical use of your ski touring equipment.
Taking AT101 at Mallard Mountain Lodge is ideal, as we have experienced guides teaching the course and everything from beginner to advanced terrain. Taking the course at our private lodge also means you’ll be in a small group, only 5 other people. This small group setting allows for more time with your instructor and the opportunity to get the most out of your education. Not to mention, you’ll be sharing the lodge with the other students, so there will be plenty of time to talk about what you’ve learned, further solidifying this invaluable course.

Proper education and an expert guide are your best friends in the backcountry.
2. Safety Gear
You’ve probably googled avalanche safety gear and know the terms, but what is it for? The essential gear you will need are a probe, transceiver, and shovel. These are the items that are absolutely necessary to carry in the unfortunate event that there’s an avalanche and someone is buried. The transceiver is the piece of equipment you would use to find your friend if they are buried, and it’s also the item that allows you to be found by members in your group. This is a crucial piece of equipment, so it’s vital for you to become very familiar with it and practice using it with your touring partner(s). The probe is what you would use to locate the buried person once you have used the transceiver to find their location. And of course, the shovel is the device you would use to uncover the buried person. One of the easiest ways to acquire all the gear is by purchasing one of Black Diamond’s snow safety sets. If you aren’t ready to make the purchase, we also offer this gear for rent for an additional fee at the lodge.
3. Hire a Guide
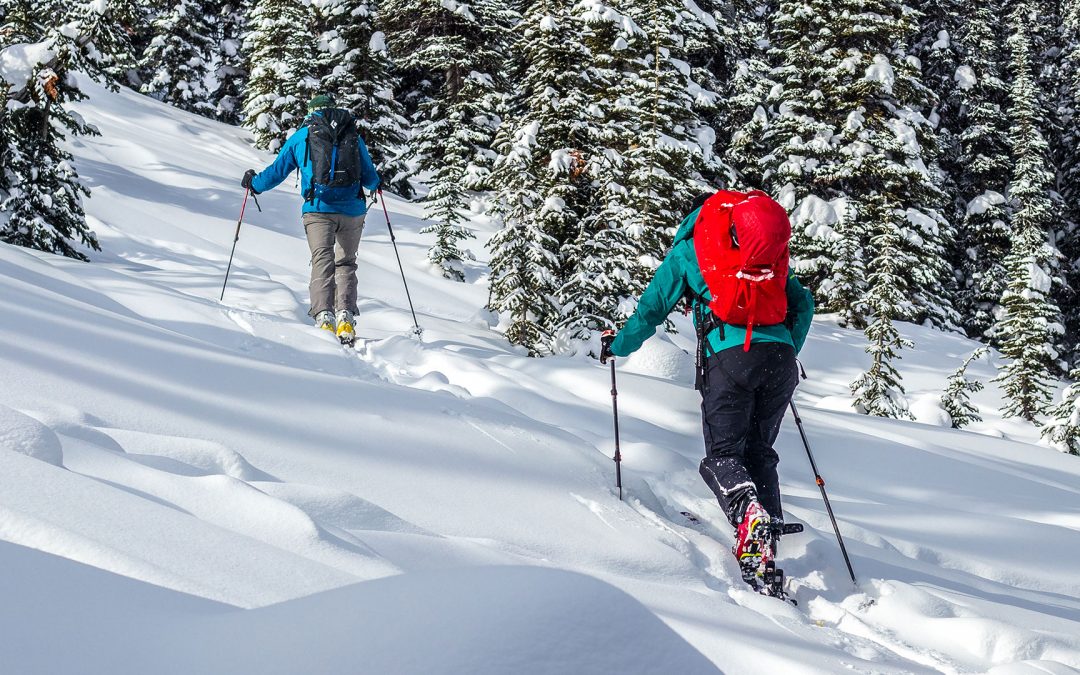
If you’ve decided to take your AST course locally and are ready to take on your first backcountry skiing experience, we have an important piece of advice: Hire a guide. Even if you have a friend who’s experienced in the backcountry wanting to take you on your first ski tour, it’s ideal to have a guide take you on your first backcountry ski or snowboard experience. Not only will you be in the trusted hands of a professional, but you’ll be able to learn from their years of experience throughout the day. This increases the level of expertise and safety on the trip, as well as gives you the benefit of having an expert show you the safe routes up and down the mountain. One of the benefits of booking with us at Mallard Mountain Lodge, is you can book your backcountry experience with a guide. We offer fully guided and catered options, as well as self-guided and catered. You can learn more about the options here.

Practice, practice, practice.
4. Practice with your Gear
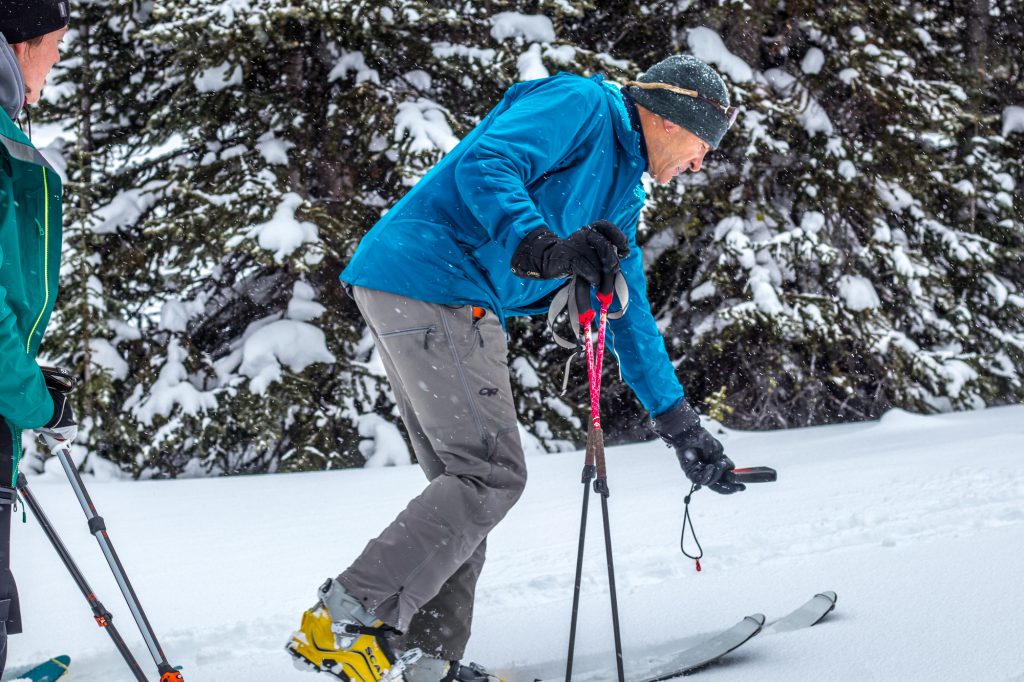
Whether you live in a snow covered area, or you reside in a high-rise apartment void of snow, you can practice with your gear to make life easier when you’re ready to do your first backcountry tour. After learning how to use your equipment, if taking your AST course prior to coming to the lodge, we recommend practicing with friends, hiding transceivers and searching for them. You can also get familiar with your skins and touring bindings, practice taking them on and off, as well as changing the bindings into walk mode. With split-board bindings, this typically takes a bit more practice, so it’s great if you can go ahead and get the technique down before heading into the backcountry. Don’t worry though, if you can’t do this, your guide at Mallard Mountain Lodge will be able to assist you with tips and tricks to get you comfortable with your gear.
5. Get Physical
Earning your turns in the backcountry requires more effort and uses different muscle groups than a day of ripping groomers in resort. Depending on what means of exercise you have available to you, trail running, hill repeats on the steepest city block you have, or using a treadmill on an incline are simple ways to get you ready for the backcountry. Simply doing activities like this 3 days per week will make a huge difference for your first backcountry experience.
We hope this helps you gain a better understanding of what to do in preparation for a backcountry ski trip.
Next, check out our Beginners Guide to Backcountry Skiing and Snowboarding: Part 2, where we offer tips for your first day in the backcountry.
If you’re ready to start planning your first ski tour, you can contact us to sign up for AT101 or book your first backcountry experience with one of our expert guides.
Next steps?
- More Blogs
- Explore Website
- Contact us by email info@cacltd.ca
- Contact us by phone 250 835 4516
- Check Availability
- Book Now!

